
How to Set Up a Drone Survey
Learn How to Set Up a Professional Drone Survey
A successful drone survey starts with careful planning and proper equipment setup. This guide explains the complete workflow, from preparing the survey site to collecting high-quality aerial data for accurate mapping and engineering projects.
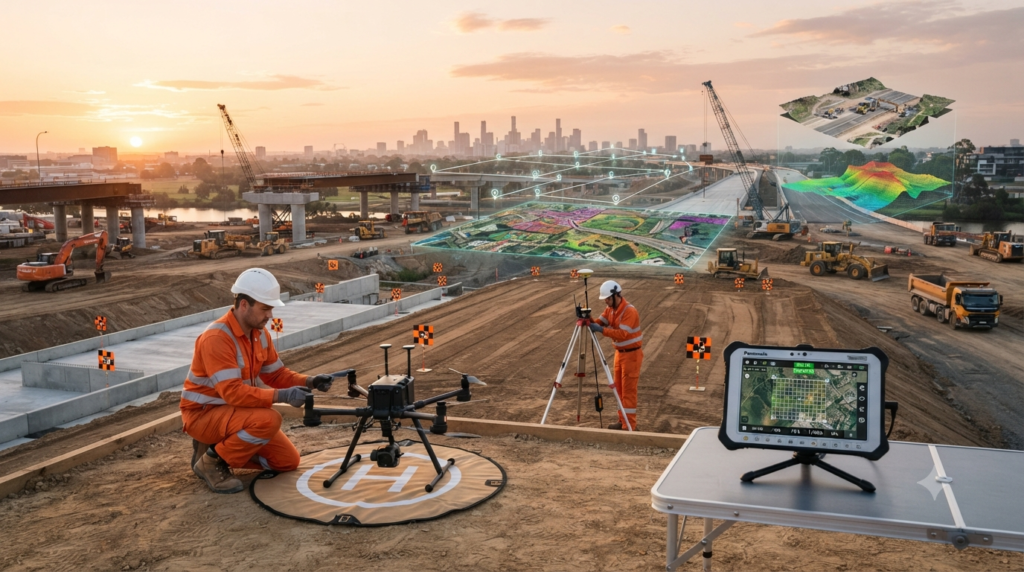
Introduction
A drone can collect thousands of aerial images in a short time, but accurate survey results depend on a proper setup.
Before every flight, surveyors inspect the site, prepare the equipment, check weather conditions, and create a flight plan. They also make sure the drone, camera, and positioning system are working correctly.
Following a professional workflow helps improve accuracy, avoid mistakes, and produce reliable survey data.
Equipment Required
Before starting the survey, prepare the following equipment.
- Survey Drone (UAV)
- Remote Controller
- Fully Charged Batteries
- RTK Base Station or Network RTK
- Ground Control Points (GCPs)
- Check Points (CPs)
- High-Visibility Survey Targets
- Field Tablet or Mobile Device
- Mission Planning Software
- GNSS Receiver
- Memory Cards
- Photogrammetry Software
- Laptop for Data Processing
Step 1 – Inspect the Survey Area
Visit the project site before the flight.
Check for trees, buildings, power lines, communication towers, cranes, moving vehicles, and other obstacles.
Identify a safe take-off and landing area with good visibility.
Step 2 – Check Weather Conditions
Review the weather before flying.
Avoid heavy rain, strong winds, fog, or poor visibility.
Good weather improves image quality and helps the drone fly safely.
Step 3 – Set Up the RTK Base Station
If using RTK surveying, place the RTK Base Station on a stable survey control point.
Level the tripod and make sure the antenna has a clear view of the sky.
If using a Network RTK service, confirm that the drone is receiving correction data before take-off.
Step 4 – Place Ground Control Points
Install Ground Control Points (GCPs) across the survey area.
Measure their coordinates using a survey-grade GNSS receiver or Total Station.
Well-distributed control points improve the accuracy of the final map.
Step 5 – Prepare the Drone
Install a fully charged battery.
Check the propellers for damage.
Clean the camera lens.
Confirm that the GNSS receiver, IMU, compass, and obstacle sensors are working correctly.
Step 6 – Create the Flight Plan
Open the mission planning software and draw the survey boundary.
Set the flight altitude, image overlap, flight speed, camera angle, and flight direction.
The software automatically generates the flight path for complete coverage.
Step 7 – Configure the Camera
Set the camera according to the project requirements.
Check image resolution, shutter speed, ISO, white balance, and focus.
Correct camera settings help produce sharp images for photogrammetry.
Step 8 – Perform Pre-Flight Checks
Before take-off, verify:
- Battery Level
- Satellite Count
- RTK Fixed Status
- Camera Operation
- Flight Path
- Return-to-Home Height
- Compass Status
- Storage Capacity
Only begin the flight after confirming that all systems are operating correctly.
Step 9 – Start the Survey Flight
Launch the drone and begin the automatic mission.
The drone follows the planned flight path while capturing overlapping aerial images.
Monitor the flight on the controller and ensure the mission continues without interruptions.
Step 10 – Review the Collected Data
After landing, inspect the captured images.
Check for blurry photographs, missing coverage, or exposure problems.
If necessary, repeat the flight before leaving the site.
Step 11 – Back Up the Survey Data
Copy all images and flight logs to a computer or external storage device.
Keeping a backup protects the project from accidental data loss.
Common Mistakes to Avoid
- Flying in strong winds.
- Forgetting to calibrate the drone.
- Low battery before the mission.
- Poor Ground Control Point placement.
- Low image overlap.
- Incorrect camera settings.
- Ignoring RTK connection problems.
- Leaving the site without checking the images.
Best Practices
Plan the mission before arriving on site.
Use RTK or PPK positioning whenever possible.
Distribute Ground Control Points evenly.
Maintain at least 75% front overlap and 65% side overlap for most photogrammetry projects.
Keep spare batteries ready for long surveys.
Review the collected data before leaving the project site.
Safety Tips
Always follow local aviation regulations.
Keep the drone within visual line of sight unless permitted otherwise.
Stay away from airports, power lines, and restricted areas.
Never fly over people or moving traffic unless authorised.
Wear appropriate personal protective equipment while working on construction sites.
Conclusion
A well-planned drone survey produces accurate aerial data and reduces the need for repeat fieldwork. By following the correct setup procedure, checking the equipment, creating a proper flight plan, and reviewing the collected images, surveyors can produce high-quality maps and 3D models for engineering, construction, and infrastructure projects.