
How to Set Up an RTK Rover
Set Up Your RTK Rover for Accurate Survey Results
A properly configured RTK Rover is essential for collecting accurate survey data. This guide explains the complete setup process in simple steps, helping beginners and professionals prepare the Rover for reliable field measurements.
Introduction
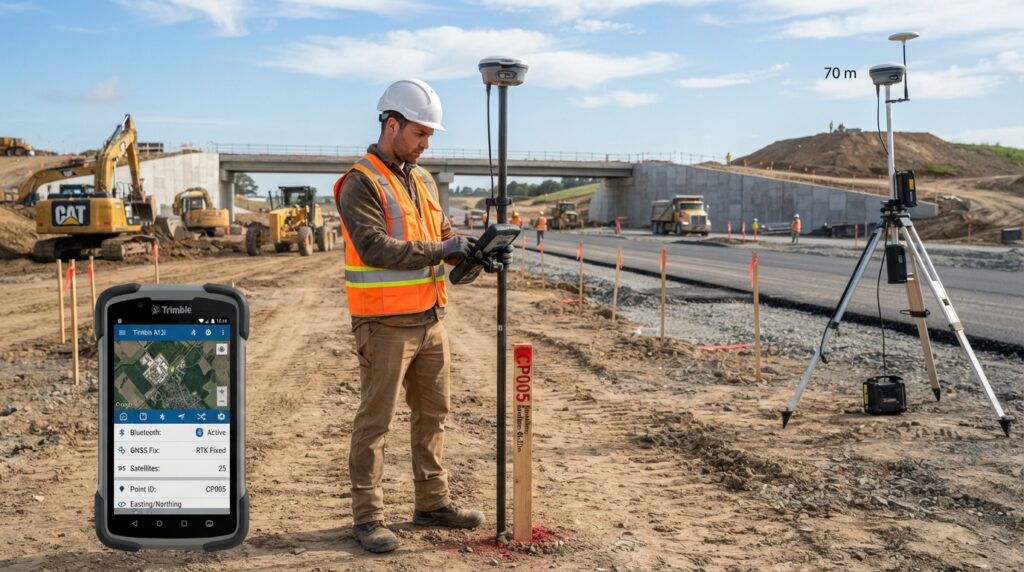
Before starting an RTK survey, the RTK Rover must be set up correctly. A proper setup allows the Rover to receive correction data from an RTK Base Station or a CORS network. This helps improve positioning accuracy and ensures reliable survey results throughout the project.
The setup process is simple when each step is followed carefully.
Equipment Required
Before setting up the RTK Rover, make sure you have the following equipment:
- RTK GNSS Receiver
- Survey Pole
- Survey Controller
- Fully Charged Battery
- Mobile Internet or UHF Radio (depending on the correction source)
- Measuring Tape (if required)
- Field Controller Software
Step 1 – Inspect the Equipment
Before going to the survey site, check that the RTK Rover, survey pole, battery, controller, and accessories are clean and in good working condition. Make sure all batteries are fully charged.
Step 2 – Mount the RTK Rover
Attach the RTK GNSS receiver securely to the top of the survey pole. Tighten all fittings so the receiver remains stable while working.
Step 3 – Turn On the Equipment
Switch on the RTK Rover and the survey controller. Wait for both devices to complete the startup process.
Step 4 – Connect the Rover to the Controller
Connect the RTK Rover to the survey controller using Bluetooth or another supported wireless connection. Confirm that the controller recognizes the receiver successfully.
Step 5 – Configure the Survey Project
Open the survey software and create a new project or open an existing one. Select the correct coordinate system, projection, and measurement units required for your project.
Step 6 – Connect to the Correction Source
Choose how the Rover will receive correction data.
If you are using an RTK Base Station, connect through the UHF radio.
If you are using a CORS network, connect through the internet using NTRIP and enter the required login details.
Wait until the Rover reports that RTK corrections are being received successfully.
Step 7 – Check Satellite Status
Allow the Rover a few moments to track enough satellites. Check the satellite status, correction status, and accuracy information displayed on the survey controller before starting work.
Step 8 – Measure a Known Point
Before collecting new survey points, measure a nearby control point with known coordinates. This simple check helps confirm that the Rover is working correctly and producing accurate results.
Common Mistakes to Avoid
Many survey errors happen because of small setup mistakes. Always check that the survey pole is held vertically, the correct coordinate system is selected, the Rover is receiving RTK corrections, and the battery has enough power for the entire survey.
Avoid working near tall buildings, dense trees, or power lines where satellite signals may be blocked or reflected.
Best Practices
Keep the survey pole vertical while measuring every point. Monitor the RTK status throughout the survey and confirm that the solution remains fixed before recording measurements. Regularly save your survey data and inspect the equipment after completing the project.
Conclusion
A correctly configured RTK Rover is essential for accurate and efficient surveying. By following the proper setup procedure, surveyors can collect reliable field data with centimeter-level accuracy and complete projects with confidence.
Related Articles
- What is an RTK Rover?
- What is an RTK Base Station?
- How to Set Up an RTK Base Station
- Leading RTK Rover Models and Brands
- What is RTK Survey?