
How to Set Up a Scanner System
Set Up a Scanner System for Accurate 3D Surveying
A properly configured Scanner System produces accurate point clouds and reliable survey data. This guide explains the complete setup process, from preparing the survey site to collecting and saving scan data.
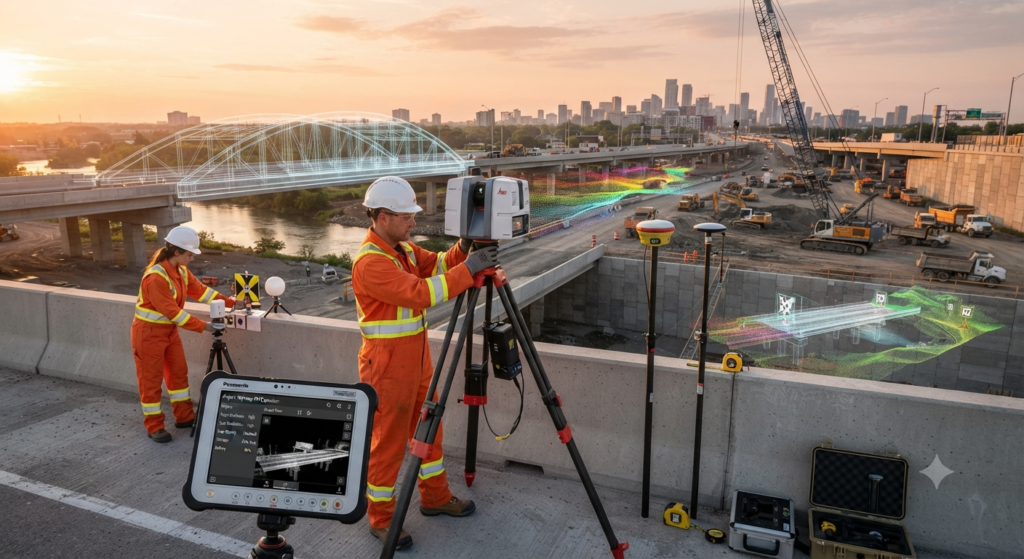
Introduction
A Scanner System can capture millions of measurement points within minutes, but accurate results depend on a proper setup.
Before scanning begins, the survey area should be inspected, the scanner should be positioned correctly, and all equipment should be checked. Good planning helps reduce field time and improves the quality of the final point cloud.
Whether you are scanning a building, bridge, road, tunnel, industrial plant, or construction site, following the correct workflow will help you collect reliable data.
Equipment Required
Before starting the survey, prepare the following equipment:
- 3D Laser Scanner
- Heavy-Duty Tripod
- Fully Charged Batteries
- Memory Card or Internal Storage
- Survey Targets or Spheres
- Control Tablet or Controller
- GNSS Receiver (if required)
- Measuring Tape
- Field Notebook
- Point Cloud Processing Software
Step 1 – Inspect the Survey Site
Walk around the project area before setting up the scanner.
Identify obstacles, moving vehicles, reflective surfaces, and locations that may block the scanner’s view.
Choose scanning positions that provide maximum coverage with minimum blind spots.
Step 2 – Set Up the Tripod
Place the tripod on stable ground.
Spread the tripod legs evenly and ensure it is firmly positioned.
Adjust the height according to the survey requirements.
A stable tripod reduces vibration and improves scanning accuracy.
Step 3 – Mount the Scanner
Carefully install the scanner on the tripod.
Lock the scanner securely using the mounting mechanism.
Confirm that the scanner is properly fixed before switching it on.
Step 4 – Power On the Scanner
Insert the battery if required.
Turn on the scanner and allow it to complete its startup process.
Check the battery level, storage capacity, date, and project settings before beginning the survey.
Step 5 – Create a New Project
Create a new survey project inside the scanner or control tablet.
Enter the project name, site location, operator information, and scanning units.
Organising data correctly makes processing much easier later.
Step 6 – Configure the Scan Settings
Select the appropriate scan resolution based on the project requirements.
Choose the scan quality, scanning range, image capture settings, and point spacing.
Higher resolution provides more detail but increases scanning time and file size.
Step 7 – Place Survey Targets
Position reflective targets or scan spheres around the survey area.
Targets help connect multiple scan positions during data processing.
Place them where they are clearly visible from different scanner locations.
Step 8 – Start the Scan
Begin the scanning process.
The scanner rotates automatically while collecting millions of laser measurements.
If the scanner has an integrated camera, it will also capture high-resolution photographs to add realistic colours to the point cloud.
Avoid moving objects near the scanner while the scan is in progress.
Step 9 – Check the Scan Quality
After the scan is complete, review the collected data.
Check for missing areas, shadows, excessive noise, or incomplete coverage.
If necessary, move the scanner to another position and repeat the scan.
Step 10 – Save and Back Up the Data
Save the completed scan before shutting down the scanner.
Create a backup of the project on a computer or external storage device.
Backing up field data helps prevent data loss before processing begins.
Common Mistakes to Avoid
- Setting the tripod on unstable ground.
- Choosing scan positions with blocked views.
- Using low battery power.
- Forgetting to place survey targets.
- Selecting the wrong scan resolution.
- Moving the scanner during scanning.
- Not checking scan quality before leaving the site.
- Failing to back up the data.
Best Practices
Inspect the survey area before scanning.
Keep the scanner lens clean.
Use multiple scan positions to reduce blind spots.
Capture overlapping scans for easier registration.
Back up all scan data immediately after the survey.
Follow the manufacturer’s operating guidelines for the best results.
Safety Tips
Wear appropriate personal protective equipment (PPE).
Keep the scanner away from moving machinery.
Avoid placing the tripod where it could be struck by vehicles.
Work carefully around roads, railways, and construction sites.
Follow all site safety rules throughout the survey.
Conclusion
Setting up a Scanner System correctly is essential for producing accurate and reliable survey data. A stable tripod, proper scan settings, good planning, and careful quality checks help create complete point clouds that can be used for mapping, BIM, inspections, and engineering design. Following a professional workflow improves efficiency and reduces the need for repeat site visits.