
How to Set Up an Auto Level
Set Up an Auto Level for Accurate Elevation Measurements
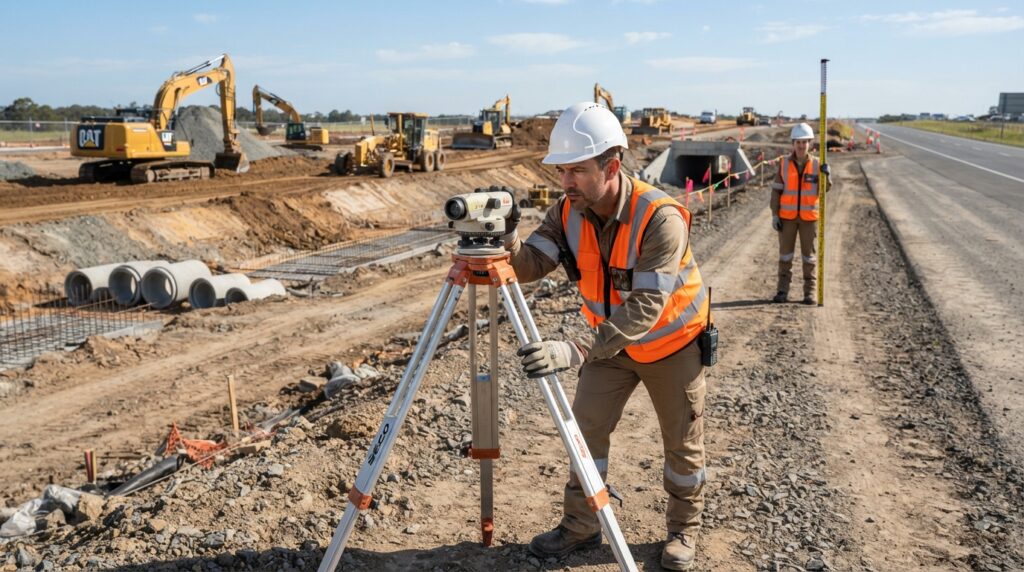
A properly set up Auto Level is essential for accurate height measurements. This guide explains the complete setup process in simple steps, helping beginners and professionals perform reliable leveling in the field.
Introduction
Before taking any level readings, the Auto Level must be set up correctly. A stable setup and proper leveling help improve accuracy and reduce measurement errors.
Whether you are working on a construction site, road project, or land survey, following the correct setup procedure ensures reliable results.
Equipment Required
Before starting, make sure you have the following equipment:
- Auto Level
- Heavy-Duty Tripod
- Leveling Staff
- Staff Bubble (Optional)
- Measuring Tape (If Required)
- Field Book or Survey Controller
Step 1 – Choose a Suitable Location
Select a stable and level area where the Auto Level has a clear view of all points to be measured.
Avoid placing the instrument on soft ground, loose soil, or areas where heavy machinery may cause vibrations.
Step 2 – Set Up the Tripod
Open the tripod legs and place them firmly on the ground.
Adjust the height so the Auto Level will be comfortable to use while standing.
Press each tripod leg securely into the ground to prevent movement.
Step 3 – Mount the Auto Level
Attach the Auto Level securely to the tripod using the fixing screw.
Make sure the instrument is firmly locked before continuing.
Step 4 – Level the Instrument
Use the leveling screws to center the circular bubble.
Turn two screws together in opposite directions until the bubble moves toward the center.
Use the third screw to complete the leveling process.
The bubble should remain centered after rotating the instrument.
Step 5 – Focus the Eyepiece
Look through the eyepiece and rotate it until the crosshairs appear sharp and clear.
This helps reduce eye strain while taking readings.
Step 6 – Focus on the Leveling Staff
Ask your assistant to hold the leveling staff vertically.
Aim the telescope at the staff and adjust the focusing knob until the staff markings become clear.
Check for parallax by slightly moving your eye. If the crosshairs appear to move on the staff, adjust the focus again until the image remains stable.
Step 7 – Take the Staff Reading
Read the value where the horizontal crosshair intersects the leveling staff.
Record the reading carefully in your field book or survey software.
Repeat the same process for all required survey points.
Step 8 – Verify the Instrument
Before starting the actual survey, take readings on a known benchmark or reference point.
This simple check confirms that the Auto Level is working correctly and providing reliable measurements.
Common Mistakes to Avoid
Many leveling errors occur because of simple mistakes.
Always make sure the tripod is stable, the bubble is centered, the leveling staff is held vertically, and the instrument is properly focused.
Avoid working during heavy rain or when the instrument is affected by strong vibrations.
Best Practices
Check the bubble regularly during the survey.
Keep the instrument clean and protect it from dust and moisture.
Store the Auto Level in its carrying case after use.
Regular calibration helps maintain long-term accuracy.
Conclusion
A correctly set up Auto Level provides accurate and reliable elevation measurements for surveying and construction projects.
Following these simple setup steps helps improve accuracy, reduce errors, and complete fieldwork more efficiently.
Related Articles
- What is an Auto Level?
- Leading Auto Level Models and Brands
- What is a Leveling Staff?
- Differential Leveling Explained
- What is a Benchmark?